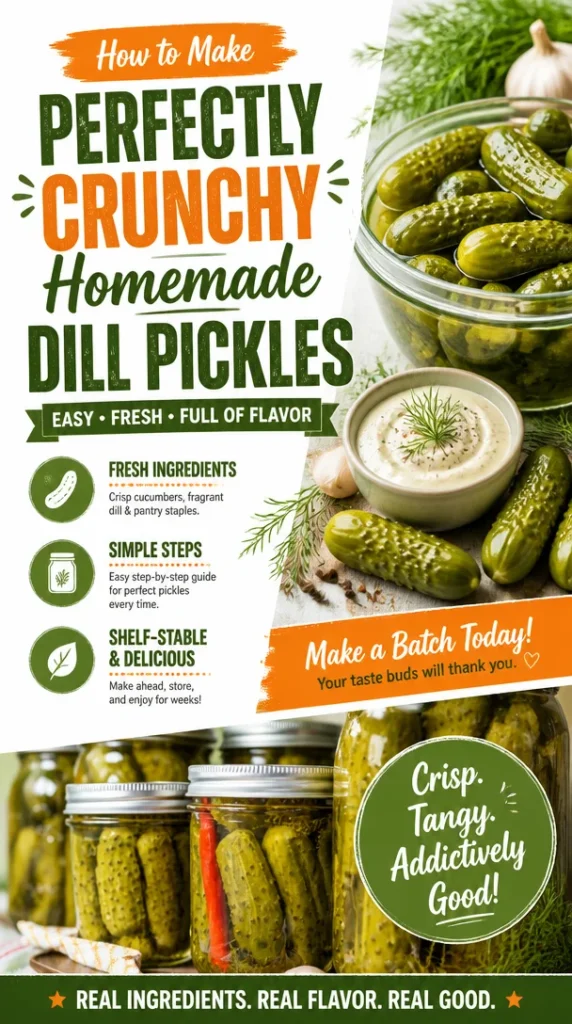
Why Make This Recipe
Making homemade dill pickles is a fun and rewarding activity. There’s something special about preparing your own food, especially when it’s as refreshing as crunchy dill pickles. They add a burst of flavor to sandwiches, burgers, and salads, and you can customize them to fit your taste. Plus, making pickles at home allows you to control the ingredients, ensuring your snacks are as healthy and delicious as possible.
How to Make Perfectly Crunchy Homemade Dill Pickles
Ingredients:
- 6 pounds fresh pickling cucumbers
- 3 quarts fresh water
- 1 quart pickling vinegar (7%) * see note below
- 3/4 cup pickling salt
- 7 tsp black peppercorns
- 7-14 cloves fresh garlic
- 7 tsp Sriracha (or red pepper flakes), optional
- 7-14 sprigs fresh dill
- 2 tsp Pickle Crisp
Directions:
- Clean and prepare the cucumbers. Wash them under cool running water to remove any debris. Once clean, cover the cucumbers with cool water and let them soak for an hour.
- Prepare 8 quart-sized mason jars, lids, and a canner for processing. Start your water bath now so it’s ready when it’s time to process the jars.
- Add two whole garlic cloves, a sprig or two of fresh dill, and 1 tsp of peppercorns to the bottom of each mason jar along with 1/4 tsp of Pickle Crisp.
- Prepare the brine. In a large pot, combine the water, vinegar, and salt. Bring this mixture to a rolling boil.
- Remove the blossom end from the cucumbers and start filling the jars. You can add spears or whole cucumbers, but keep them on the thicker side. Avoid making the spears too small.
- Pack the mason jars tightly with cucumbers, leaving at least 1 inch of headspace at the top.
- Carefully ladle or pour the boiling brine over the cucumbers in the jars, leaving 1/2 inch headspace.
- Use a spatula to gently press against the pickles and down the inside of the jar to release any trapped air. Repeat this several times around the jar.
- Wipe the rims of the jars, add the lids and rings, twisting them until they are finger tight.
- Process the jars in a water bath for 15 minutes for quarts and 10 minutes for pints. Remove the jars from the bath and set them aside on a cutting board, trivet, or dishcloth to cool.
- Leave the jars undisturbed for 24 hours.
- After 24 hours, check to make sure the jars have sealed properly. Sealed jars can be stored for up to a year. If any jars did not seal, refrigerate them and use within 4 weeks.
How to Serve Perfectly Crunchy Homemade Dill Pickles
Serve your crunchy dill pickles as a tasty snack, or slice them up to add to sandwiches and burgers. They can also make an excellent side to picnic dishes or barbecue meals. Enjoy them straight from the jar or use them in your favorite recipes where you need a tangy crunch.
How to Store Perfectly Crunchy Homemade Dill Pickles
Store sealed jars of dill pickles in a cool, dark place like a pantry or cupboard. They can last for up to a year if stored properly. Unsealed jars should go in the refrigerator and should be consumed within 4 weeks for the best quality.
Tips to Make Perfectly Crunchy Homemade Dill Pickles
- Choose pickling cucumbers that are fresh and firm for the best texture.
- Soaking the cucumbers in water before pickling helps keep them crisp.
- Always remove the blossom end of the cucumber to prevent soft pickles.
- Use Pickle Crisp to help maintain the crunchiness of your pickles.
Variation
Feel free to experiment with the spices! You can add mustard seeds, coriander seed, or different herbs to create your unique flavor profile. Adjust the level of heat by increasing or decreasing the amount of Sriracha or red pepper flakes.
FAQs
Q: Can I use regular cucumbers for this recipe?
A: Yes, but pickling cucumbers are usually firmer and ideal for pickling. Regular cucumbers may become softer.
Q: How can I tell if my pickles are sealed correctly?
A: The lids will be slightly curved inward and will not pop when pressed in the center.
Q: Can I reuse the brine for another batch of pickles?
A: It’s best not to reuse brine, as it will lose its strength and flavor. Make fresh brine for each batch.
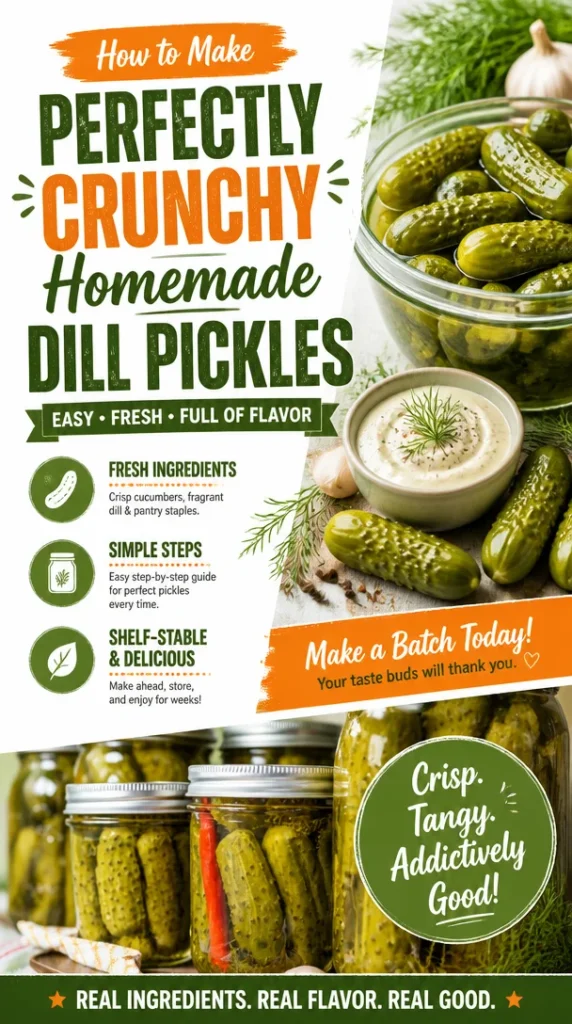
Crunchy Homemade Dill Pickles
Ingredients
Method
- Clean and prepare the cucumbers. Wash them under cool running water to remove any debris. Soak them in cool water for 1 hour.
- Prepare 8 quart-sized mason jars, lids, and a canner for processing. Start your water bath now so it’s ready when it’s time to process.
- Add 2 garlic cloves, a sprig of fresh dill, and 1 tsp of peppercorns to the bottom of each mason jar along with 1/4 tsp of Pickle Crisp.
- In a large pot, combine the water, vinegar, and salt. Bring this mixture to a rolling boil.
- Remove the blossom end from the cucumbers and start filling the jars with spears or whole cucumbers, keeping them thicker. Leave at least 1 inch of headspace at the top.
- Carefully ladle or pour the boiling brine over the cucumbers in the jars, leaving 1/2 inch headspace.
- Use a spatula to gently press against the pickles and down the inside of the jar to release any trapped air. Repeat several times around the jar.
- Wipe the rims of the jars, add the lids and rings, twisting them until they are finger tight.
- Process the jars in a water bath for 15 minutes for quarts and 10 minutes for pints. Remove the jars from the bath and set them aside to cool.
- Leave the jars undisturbed for 24 hours.
- After 24 hours, check to make sure the jars have sealed properly. Sealed jars can be stored for up to a year. Unsealed jars should go in the refrigerator and be used within 4 weeks.