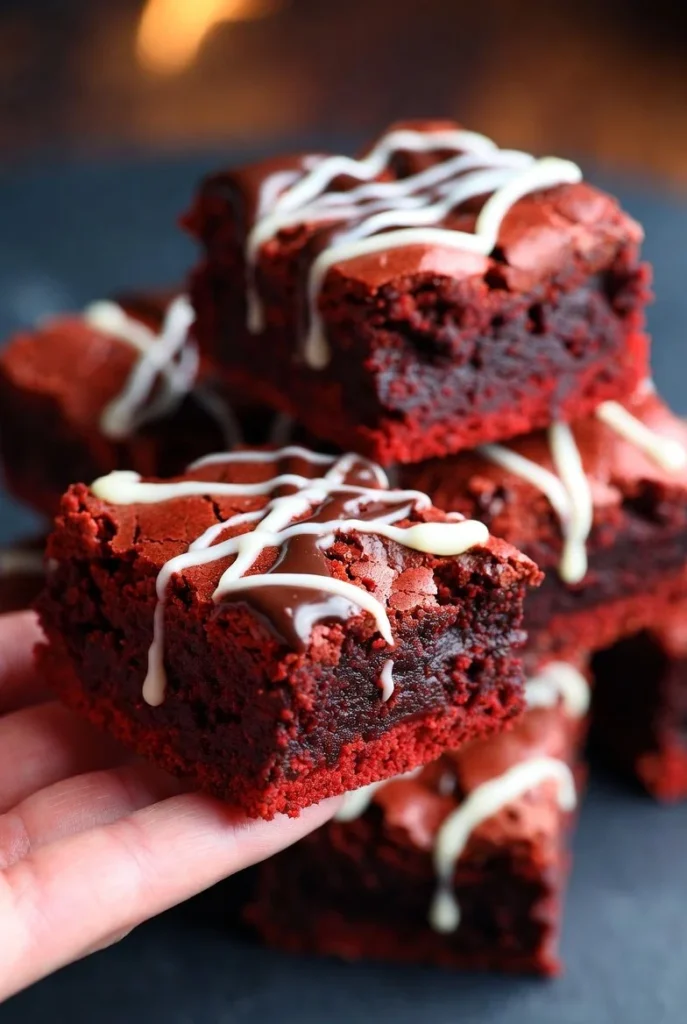
why make this recipe
Red Velvet Brownies are a delightful twist on traditional brownies. They combine the rich, chocolatey flavor of cocoa with the vibrant red color of red velvet. These brownies are perfect for special occasions, parties, or when you simply want to treat yourself. They are easy to make and will impress your friends and family alike. With the added sweetness of white chocolate chips, each bite is guaranteed to be delicious!
how to make Red Velvet Brownies
Ingredients:
- 1 cup all-purpose flour
- 1/2 cup cocoa powder
- 1 cup granulated sugar
- 1/4 cup butter, melted
- 2 large eggs
- 1 teaspoon vanilla extract
- 1 tablespoon red food coloring
- 1/2 teaspoon baking powder
- 1/4 teaspoon salt
- 1/2 cup white chocolate chips
Directions:
- Preheat your oven to 350°F (175°C) and grease a square baking pan.
- In a mixing bowl, combine the melted butter and sugar until creamy.
- Beat in the eggs, one at a time, then add the vanilla extract and red food coloring. Mix well.
- In another bowl, whisk together the flour, cocoa powder, baking powder, and salt. Gradually add this dry mixture to the wet ingredients, stirring until combined.
- Fold in the white chocolate chips.
- Pour the brownie batter into the prepared pan and spread evenly.
- Bake for about 20-25 minutes, or until a toothpick inserted in the center comes out with a few moist crumbs.
- Let cool before cutting into squares. Serve and enjoy your delicious red velvet brownies!
how to serve Red Velvet Brownies
These brownies are delightful on their own but can be served with a scoop of vanilla ice cream or a dollop of whipped cream for an extra special treat. You can also drizzle some chocolate or cream cheese frosting on top for more flavor. They are perfect for any gathering or as a sweet snack during the day.
how to store Red Velvet Brownies
To keep your Red Velvet Brownies fresh, store them in an airtight container. They can be kept at room temperature for up to three days. If you want to keep them longer, you can refrigerate them for up to a week. You can also freeze them for up to three months. Just make sure to wrap them well before placing them in a freezer-safe container.
tips to make Red Velvet Brownies
- Make sure your butter is melted and cooled slightly before mixing it with the sugar to avoid cooking the eggs.
- Mix the red food coloring in thoroughly to get an even red color throughout the brownies.
- Be careful not to overmix the batter; just combine the ingredients until they are mixed well for a fudgy texture.
- Adjust the amount of white chocolate chips according to your sweetness preference.
variation
You can add nuts like walnuts or pecans for extra crunch. Also, try swapping the white chocolate chips for dark or semi-sweet chocolate chips if you prefer a different flavor profile. For a festive twist, you can sprinkle some chocolate sprinkles on top before baking.
FAQs
1. Can I use a different type of food coloring?
Yes, you can use other colors if you want to create a different look for your brownies, but the traditional red velvet is known for its red color.
2. What if I don’t have cocoa powder?
If you don’t have cocoa powder, you can substitute it with an equal amount of melted chocolate, but this may change the texture slightly.
3. Can I make these brownies gluten-free?
Yes, you can substitute the all-purpose flour with a gluten-free baking blend to make these brownies gluten-free. Just ensure that the other ingredients are also gluten-free.
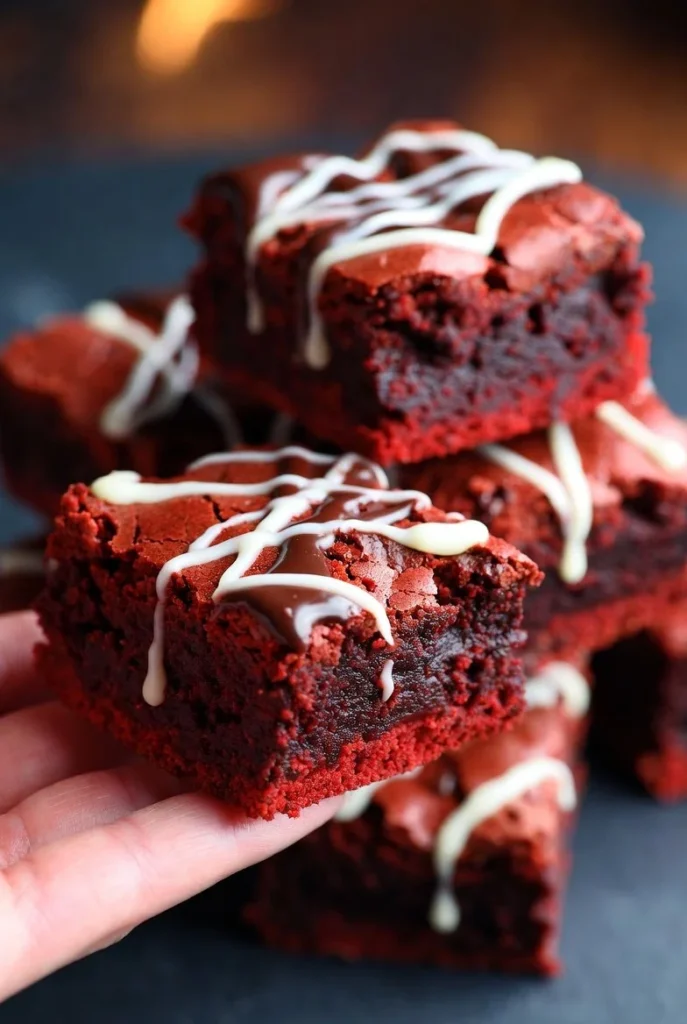
Red Velvet Brownies
Ingredients
Method
- Preheat your oven to 350°F (175°C) and grease a square baking pan.
- In a mixing bowl, combine the melted butter and sugar until creamy.
- Beat in the eggs, one at a time, then add the vanilla extract and red food coloring. Mix well.
- In another bowl, whisk together the flour, cocoa powder, baking powder, and salt.
- Gradually add the dry mixture to the wet ingredients, stirring until combined.
- Fold in the white chocolate chips.
- Pour the brownie batter into the prepared pan and spread evenly.
- Bake for about 20-25 minutes, or until a toothpick inserted in the center comes out with a few moist crumbs.
- Let cool before cutting into squares.