why make this recipe
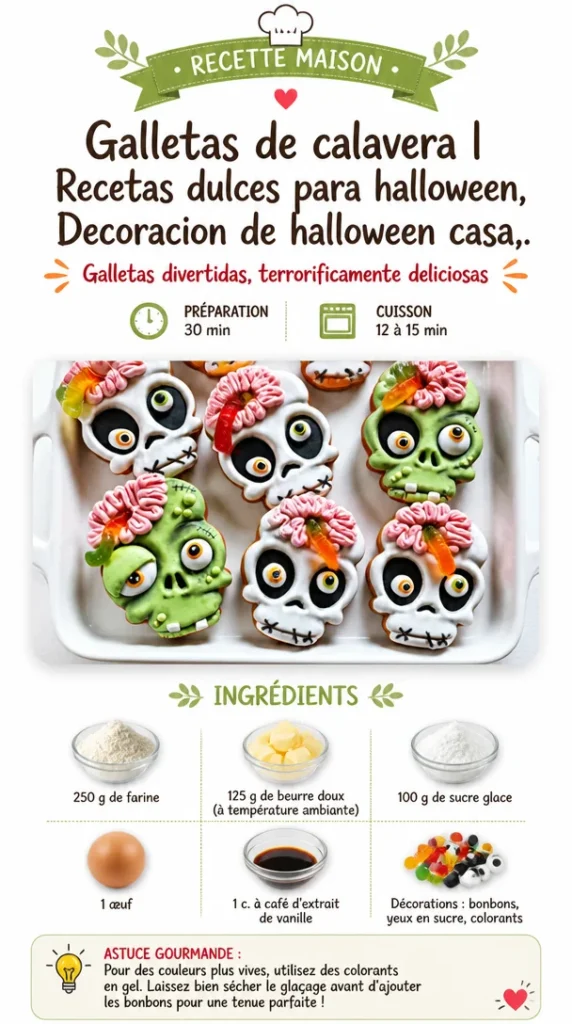
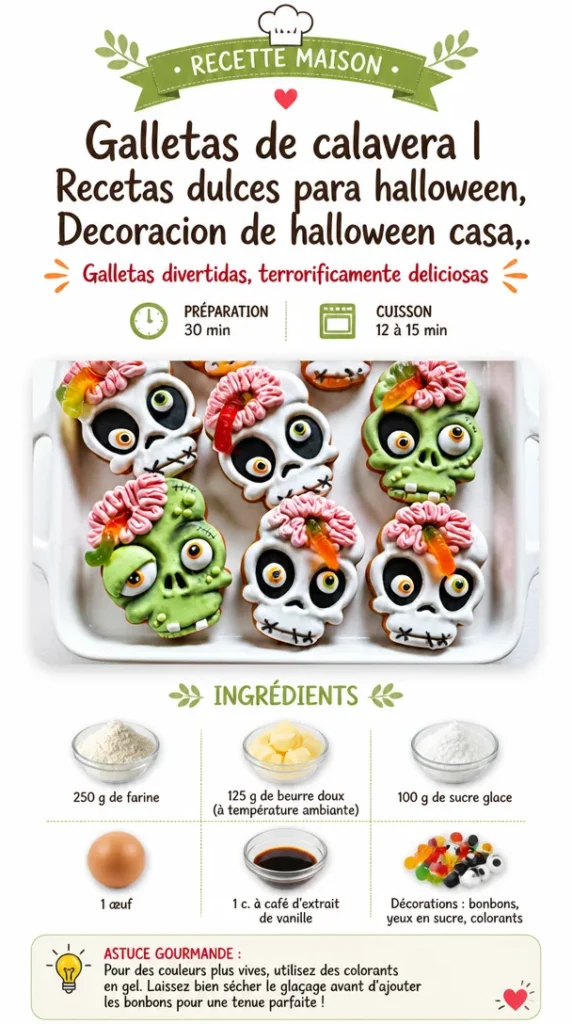
Skull Cookies are a fun and spooky treat perfect for Halloween. They add a festive touch to your home decoration and are great for parties and gatherings. Kids and adults alike enjoy these delicious cookies, and you can easily decorate them to fit the Halloween theme. Plus, making these cookies can be a wonderful activity to do with family or friends!
how to make Skull Cookies
Ingredients:
- 2 1/2 cups all-purpose flour
- 1 teaspoon baking powder
- 1/2 teaspoon salt
- 1 cup unsalted butter, softened
- 1 cup granulated sugar
- 1 large egg
- 1 teaspoon vanilla extract
- 1 teaspoon almond extract
- White icing for decoration
- Black food coloring
Directions:
- In a bowl, mix the flour, baking powder, and salt together. Set this mixture aside.
- In another bowl, cream the softened butter and sugar until light and fluffy.
- Add the egg, vanilla extract, and almond extract to the butter mixture. Mix well.
- Gradually add the flour mixture to the wet ingredients until combined.
- Wrap the dough in plastic wrap and chill it in the refrigerator for about 1 hour.
- Preheat the oven to 350°F (175°C).
- Roll out the chilled dough on a floured surface. Cut out skull shapes using a cookie cutter.
- Place the cookie shapes on a baking sheet lined with parchment paper.
- Bake for 10-12 minutes or until the edges are lightly golden.
- Allow the cookies to cool completely before decorating with white icing.
- Use black food coloring to add details like eyes and mouth.
how to serve Skull Cookies
Serve Skull Cookies on a spooky platter, and you can place them alongside other Halloween treats like candy and cupcakes. They are perfect as party favors or a sweet addition to your Halloween meal. You can also arrange them with some fake cobwebs for a fun decoration.
how to store Skull Cookies
To keep your Skull Cookies fresh, store them in an airtight container at room temperature. They will last about a week. If you want to keep them longer, consider storing them in the freezer. Just ensure they are well wrapped to prevent freezer burn.
tips to make Skull Cookies
- For a softer cookie, be careful not to overbake them.
- Use different colored icing to create unique designs for each cookie.
- You can add Halloween-themed sprinkles for extra decoration.
- If you don’t have a skull cookie cutter, you can use a round cutter and shape them with icing.
variation
You can use flavored extracts other than vanilla and almond for a twist on the traditional cookie taste. Options like lemon or peppermint can add a fun surprise. Additionally, consider adding chocolate chips or nuts to the cookie dough for added texture and flavor.
FAQs
Can I make the dough ahead of time?
Yes, you can prepare the dough and refrigerate it for up to 3 days before using it. Just make sure to wrap it well.
Can I freeze the cookies after baking?
Absolutely! Once they are completely cool, you can freeze the cookies in an airtight container. They can last up to 3 months in the freezer.
What can I use instead of food coloring?
If you prefer a natural method, you can use beet juice or matcha powder to color your icing, but it might give a different color than black.
Skull Cookies
Ingredients
Method
- Mix the flour, baking powder, and salt together in a bowl. Set this mixture aside.
- Cream the softened butter and sugar until light and fluffy in another bowl.
- Add the egg, vanilla extract, and almond extract to the butter mixture and mix well.
- Gradually add the flour mixture to the wet ingredients until combined.
- Wrap the dough in plastic wrap and chill it in the refrigerator for about 1 hour.
- Preheat the oven to 350°F (175°C).
- Roll out the chilled dough on a floured surface and cut out skull shapes using a cookie cutter.
- Place the cookie shapes on a baking sheet lined with parchment paper.
- Bake for 10-12 minutes or until the edges are lightly golden.
- Allow the cookies to cool completely before decorating with white icing.
- Use black food coloring to add details like eyes and mouth.